I originally wasn't intending to construct an observatory until I had learnt a lot more about astrophotpgraphy, however, frustration soon set in as I was having to carry my Celestron C8-SGT(XLT) out on to the driveway whenever I wanted to use it, and having to complete all the necessary alignments was driving me mad...I think you know the feeling!!
This coupled with the steep learning curve I was experiencing forced me in to a decision to build some kind of observatory with a permanent pier that was at least correctly polar aligned, polar aligning? .....well that's another story.
I decided to do the construction in four phases so I could start using the scope while the construction was in progress, so after selecting the site, some basic drawings, construction commenced on 11th April 2010. The planned phase are:-
Dig out the required area and part of the mountain side
Construct concrete pier and floor
Walls and supporting roof
Rotating dome
Site Selection I live in a valley between some very close mountains, but decided that the ideal place was an area at the rear of the garage, which was actually level with the top of the garage roof, this was possible as the garage is actually cut into the mountain. A quick calculation showed that I had a minimum altitude from the horizon of 30° and 20° in the northerly and easterly directions respectively.....ideal, as this gave me a FOV of 120° from mountain-top to mountain-top which was more than adequate. The selected area would allow the construction an observartory of about 2M by 2.5M (6½ft by 7½ft in real money) in dimensions.
11th April 2010 - Start
Digging out the base area
Start of the pier foundation
Click on any image to see it at a larger size, use left and right arrow keys (or the N and P keys) to move back and forth through the gallery.
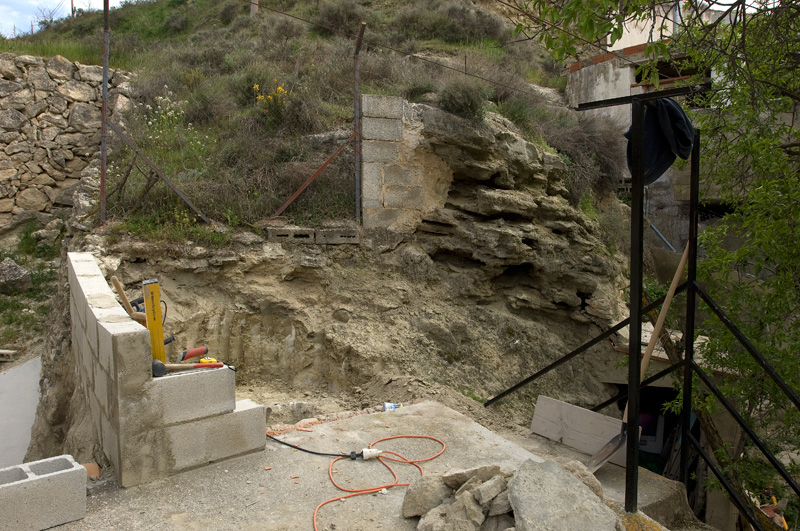
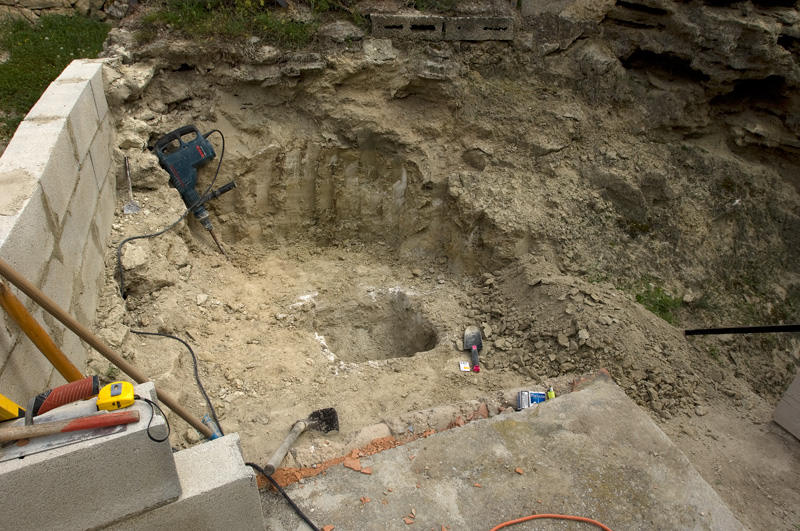
The first job was to dig out the base area, part of it was fairly flat, but the other half I would have to dig out part of the mountain, yes the hammer drill is very necessary where I live as the mountain is solid rock albeit fairly soft. Wanted the pier foundation to be about 3ft deep but I have hit solid rock at about 1ft down. The fence at the rear of the area will be removed and the rock at the back needs another 1ft removing. And now rain has stopped play.......yes it does rain in Spain.
The Base And Pier
The cross beams in the base
All setup for pouring the concrete
Click on any image to see it at a larger size, use left and right arrow keys (or the N and P keys) to move back and forth through the gallery.
Finally the weather has cleared up and has allowed us to complete digging out for the pier, I could only get a hole with a depth of 600mm (2ft) as the ground was solid rock. This shouldn't be a problem as the pier block will be supported by the rock, but just make sure it would be stable I have incorporated two 'I' beams to act as outriggers, all concreted in with 12mm steel reinforcing, and an additional cast beam that was tied in to the rear garage wall...........I don't think it is going anywhere!! The pour took about 8 barrows of concrete, and thanks to my wife, Margaret, in carrying ½ cubic metre of sand and gravel from the bottom of the drive to the top of the garage up 14 steps, and then help in the mixing the concrete.
Completion Of Pier
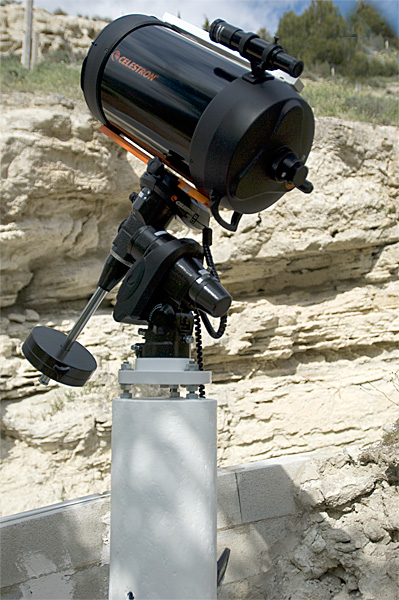
The completed pier
Telescope mounted
Click on any image to see it at a larger size, use left and right arrow keys (or the N and P keys) to move back and forth through the gallery.
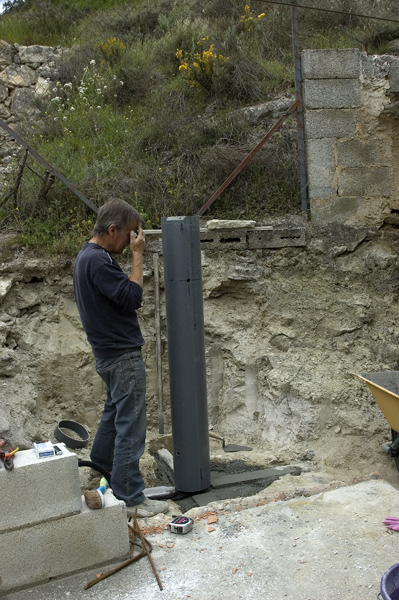
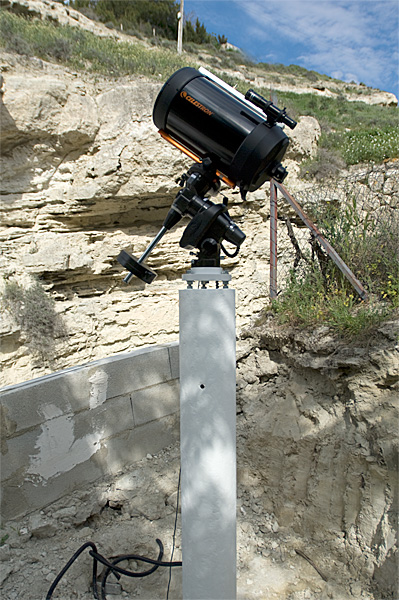
Since the 20th April the weather has not been kind, more rain, but at least some days have just been overcast and the pier has had a chance to dry out and allowed me to get it filled and painted. On the rainy days I finished machining the pier plated and made the Azimuth adjustment stop (I just made a copy of the one supplied by Celestron with the tripod that came with the CG-5 mount). So finally today the sun came out to play and this gave me the chance to get it finished, the CG-5 mount set on the pier plate, aligned roughly to North, the telescope mounted and all tested out. The hole you see near the top of the pier (and there is another one further around) is a plastic conduit to take 12volt and control cables to the pier from the computer desk area.
With this configuration, and while I start the observatory building work, I can at least start using the telescope............first job drift alignment!!